
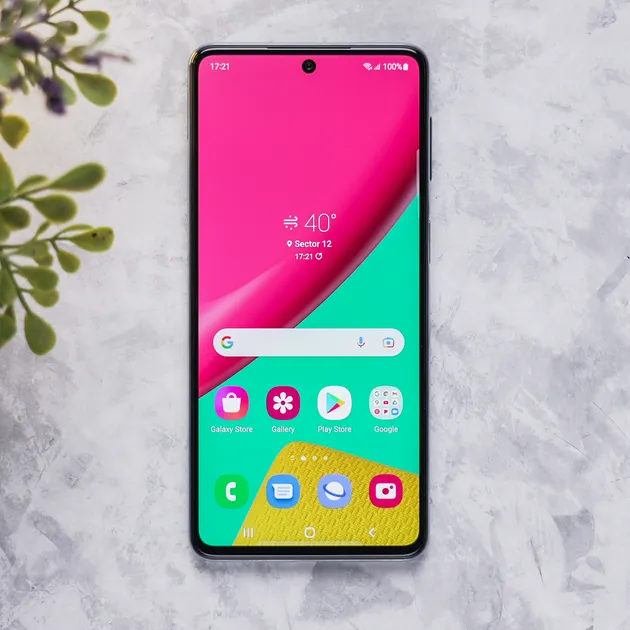
How To Take Screenshots On Samsung m53?
The Samsung Galaxy M53 is a fantastic smartphone that allows you to capture what’s on your screen with ease. Whether you want to save a memorable chat, share an interesting article, or simply document something important, taking screenshots can be incredibly useful. But many people do not know how to take screenshots on Samsung m53 do not worry about it we are always here to help you out. Additionally, In this straightforward guide, we’ll walk you through the various methods of taking screenshots on your Samsung Galaxy M53.
Additionally, No technical issue here, just easy steps to capture your screen moments effortlessly. Taking screenshots is a versatile and practical feature that enhances your ability to capture, communicate, and preserve digital information. Whether you’re using them for work, personal use, or creativity, screenshots are a valuable tool in the digital age. So read the article carefully to take screenshots of the Samsung m53.
What are the Benefits of Taking Screenshots On Samsung m53:
Certainly! Here are the key benefits of taking screenshots on Samsung m53 ;
Information Capture:
Screenshots help you save and share information from your screen.
Troubleshooting:
They assist in documenting and resolving technical issues.
Sharing Content:
You can quickly share images and articles.
Memory Preservation:
Screenshots help preserve special moments.
Note-Taking:
Useful for integrating visuals into notes.
Comparison:
Great for tracking changes over time.
Archiving:
Store web content for future reference.
Visual Communication:
Simplify explanations with visuals.
Security:
Screenshots serve as evidence or records.
Creativity:
Can be a foundation for creative projects.
Using Buttons To Take Screenshots On Samsung m53:
One of the simplest ways to take a screenshot of your Samsung Galaxy M53 is by using the hardware buttons. So, here is how:
Navigate to the screen you want to capture.
Press and hold the Volume Down button and the Power button simultaneously.
You’ll hear a sound or see an animation indicating that the screenshot has been taken.
The screenshot will be saved in your phone’s Gallery or Screenshots folder, which you can access through your Photos app.
Using Palm Sweep Gesture Method To Take Screenshots On Samsung m53:
Samsung’s smartphones come with a cool feature called the Palm Swipe Gesture, making screenshot-taking even more convenient:
Ensure the Palm Swipe Gesture feature is enabled. Open settings options on Your mobile go to the advanced features open montioAnd gesture.
Adjust to the screen you want to capture.
Extend your hand and swipe the edge of your hand horizontally across the screen, touching it gently.
Your Galaxy M53 will capture the screenshot, and you’ll see a visual confirmation.
You can find the screenshot in your Gallery or Screenshots folder.
Using the Notification Panel Method To Take Screenshots On Samsung m53:
Another method to take a screenshot on Samsung m53 is through the Notification Panel. This approach is particularly handy when you need to capture a long webpage or an entire chat conversation:
Open the picture or screen on which you want to take a screenshot on Samsung m53.
Go to the notification button and access the notification panel
Look for the “Screenshot” or “Capture” icon among the quick settings toggles.
Tap the icon, and your device will instantly capture the screen.
You’ll receive a notification confirming the screenshot, and it will be saved in your Gallery or Screenshots folder.
Taking Screenshots On Samsung m53 Using Voice Command Method:
For hands-free screenshot capture, you can use voice commands through Samsung’s Bixby:
Ensure Bixby is enabled on your device.
Activate Bixby by saying “Hey Bixby” or by pressing and holding the Bixby button (if available).
Say, “Take a screenshot,” and Bixby will promptly capture the screen.
The screenshot will be saved in your Gallery or Screenshots folder.
Taking Screenshots Using the Assistant Menu:
This one is also an easy and time-saving method of taking screenshots on the Samsung m53. Before taking a screenshot you have to make some settings in your smartphone. So, to do that follow the steps given below:
Go to “Settings” On your Phone.
Once you open the settings, follow this way ” Accessibility>Interaction and Dexterity”.
So, Now you will see the option of ” Assistant Menu”. Tap to enable it.
Once you are done with doing these steps activate the assistant menu setting on your smartphone. So you will now be able to see it with many easy-to-access buttons.
Head over to the you want to capture the screenshot.
Simply, tap on the assistant menu and then tap on the “Screenshot” option to capture the screenshot in a few seconds.
How To Save Screenshots On Samsung m53:
These quick steps make it easy to capture and save screenshots on your Samsung M53. Moreover, it ensures you can capture important moments and information effortlessly;
Capture the Screenshot:
Press the Volume Down and Power buttons together or use the Palm Swipe Gesture to take the screenshot.
View and Save:
A preview of the screenshot briefly appears. So, tap it to open.
Save:
Look for the “Save” or “Save to Gallery” option within the screenshot preview, then tap it.
Access:
Your screenshot is now saved in your Gallery or Screenshots folder, accessible through the Photos app.
Edit and share the Screenshots on Samsung m53:
Editing and sharing screenshots on a Samsung Galaxy M53 is simple. So, here are some easy steps read these carefully ;
Editing Screenshots on Samsung m53:
Capture the Screenshots on Samsung m53:
Use one of the methods mentioned earlier to take a screenshot.
View the Screenshots:
After capturing the screenshot, a preview will briefly appear on your screen. So, tap this preview to open it.
Edit the Screenshots:
Within the screenshot preview, you will typically find editing options. In Addition, You can crop, annotate, draw, add text, and more to customize your screenshot.
Save Your Changes:
Once you’re satisfied with your edits, save your changes. Moreover, this updated screenshot will replace the original in your Gallery or Screenshots folder.
Sharing a Screenshots on Samsung m53:
Capture the Screenshots:
Again, use one of the methods to take the screenshot.
View the Screenshots:
Open the preview of the screenshot after capturing it.
Share the Screenshots:
In the screenshot preview, look for the “Share” option. Tap it.
Choose Sharing Method:
You’ll be presented with various options to share the screenshot. Select your preferred method, such as messaging apps, email, social media, or cloud storage.
Complete the Sharing Process:
Follow the prompts to complete the sharing process, whether it involves selecting contacts, adding a message, or choosing the destination.
That’s it! So, You have now edited and shared a screenshot on your Samsung Galaxy M53, allowing you to customize and distribute your captured content with ease.
Conclusion:
Taking screenshots on your Samsung Galaxy M53 is very easy now, thanks to the various methods provided by Samsung. Whether you prefer using hardware buttons, gestures, the Notification Panel, or even voice commands, you can capture your screen moments effortlessly. Furthermore, remember to explore these methods and choose the one that suits your preferences and needs best. Screenshots are a handy tool for saving and sharing information, and with your Samsung M53, you’re well-equipped to do so. Enjoy capturing and sharing your screen moments with ease.
Additionally, they serve as digital keepsakes, preserving cherished memories and facilitating creative projects. So, Screenshots simplify visual communication, aid in archiving web content for future reference, and enhance security by providing evidence. Moreover, these versatile snapshots have firmly established themselves as indispensable assets, simplifying our interactions with digital information and enriching our ability to document, share, and create in the modern age.


